

Start with what the grill is
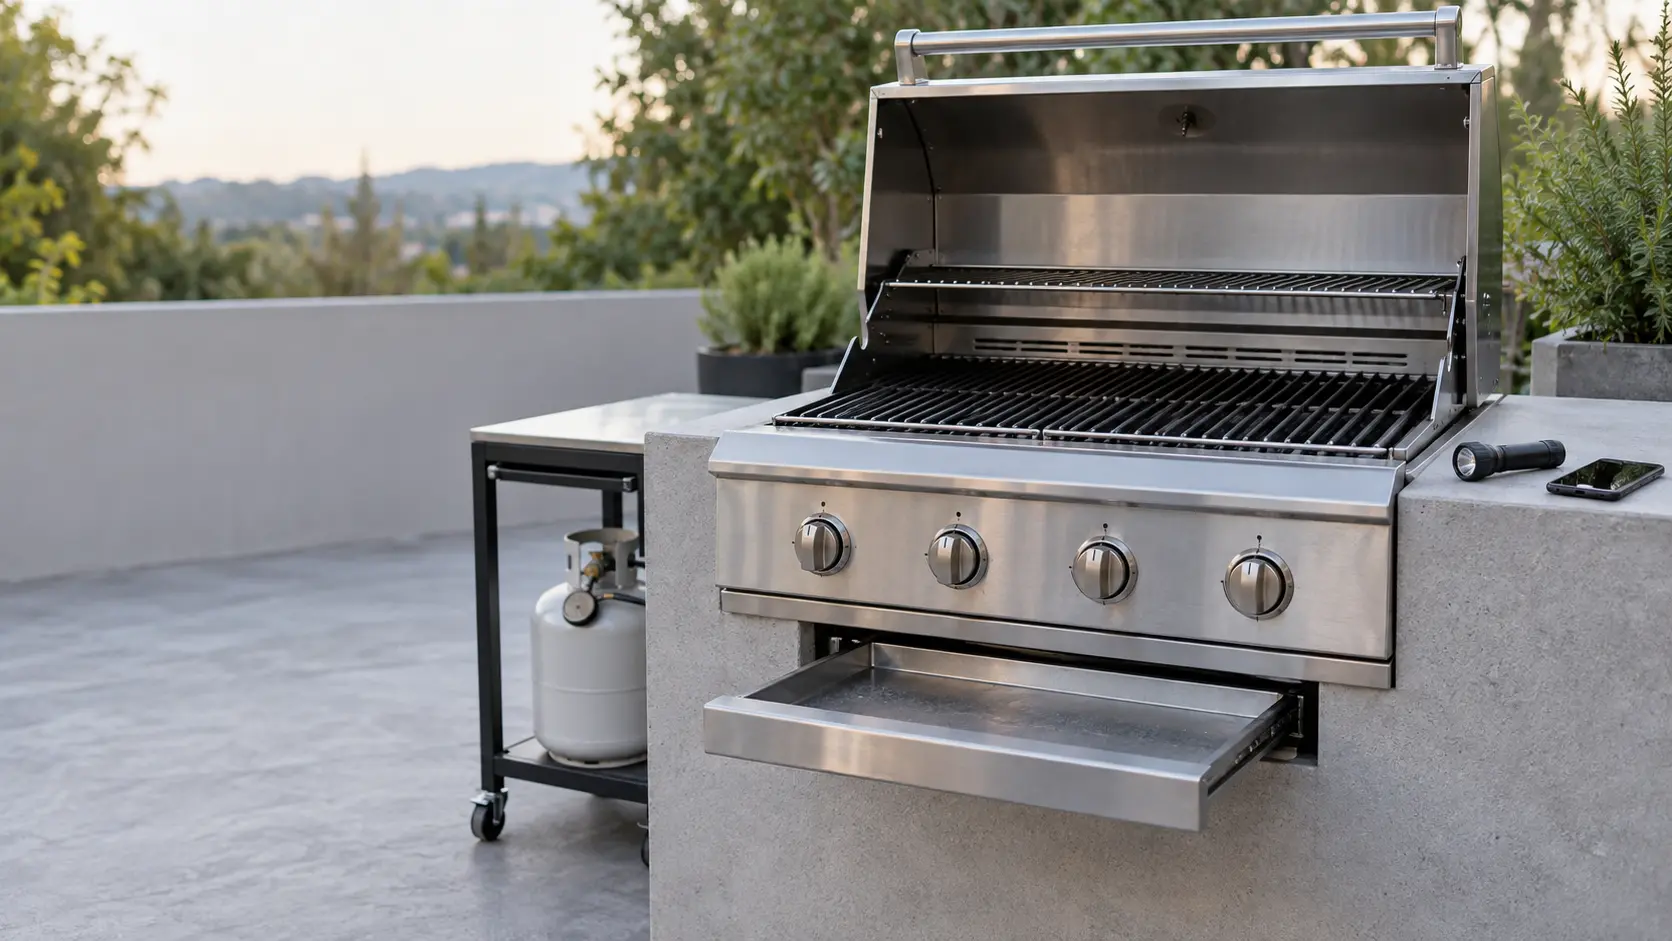
Find the rating label and photograph it. It names the maker and model, carries the serial, states which fuel the burners were set up for, and answers half the questions a scheduler asks. On many built-in heads it hangs under the drip tray; our guide on finding the grill rating label covers the other places makers put it.
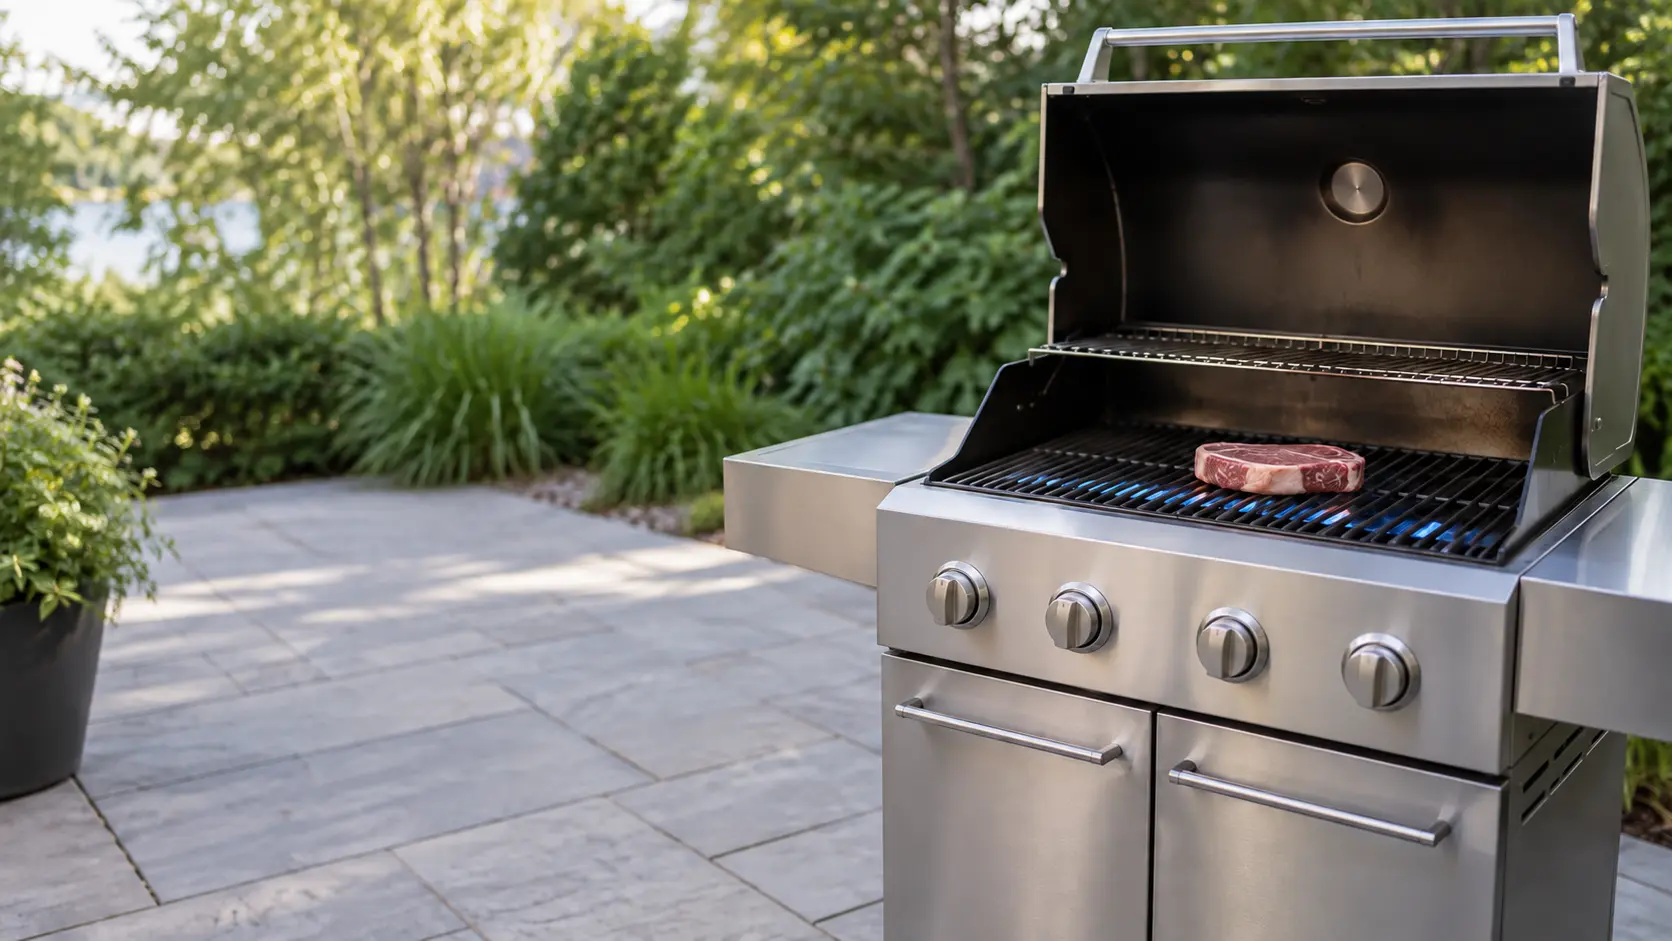
Then note what kind of grill it is and how it is fed: a cart grill on a portable cylinder, a built-in head on a natural gas line or a larger fixed propane tank, an infrared sear station, or a pellet or hybrid grill that plugs in. Each has its own short list below.
- Maker, model and serial number from the label.
- Gas type on the label, and the gas you actually burn.
- What happens, in one sentence: does not light, low heat, uneven heat, a code, no lights.
- When it started: after a tank swap, a storm, a cleaning, a move or a long idle season.
Source: Lynx — Troubleshooting — The serial rating plate is usually under the drip tray
Walk the gas path from the tank to the knobs
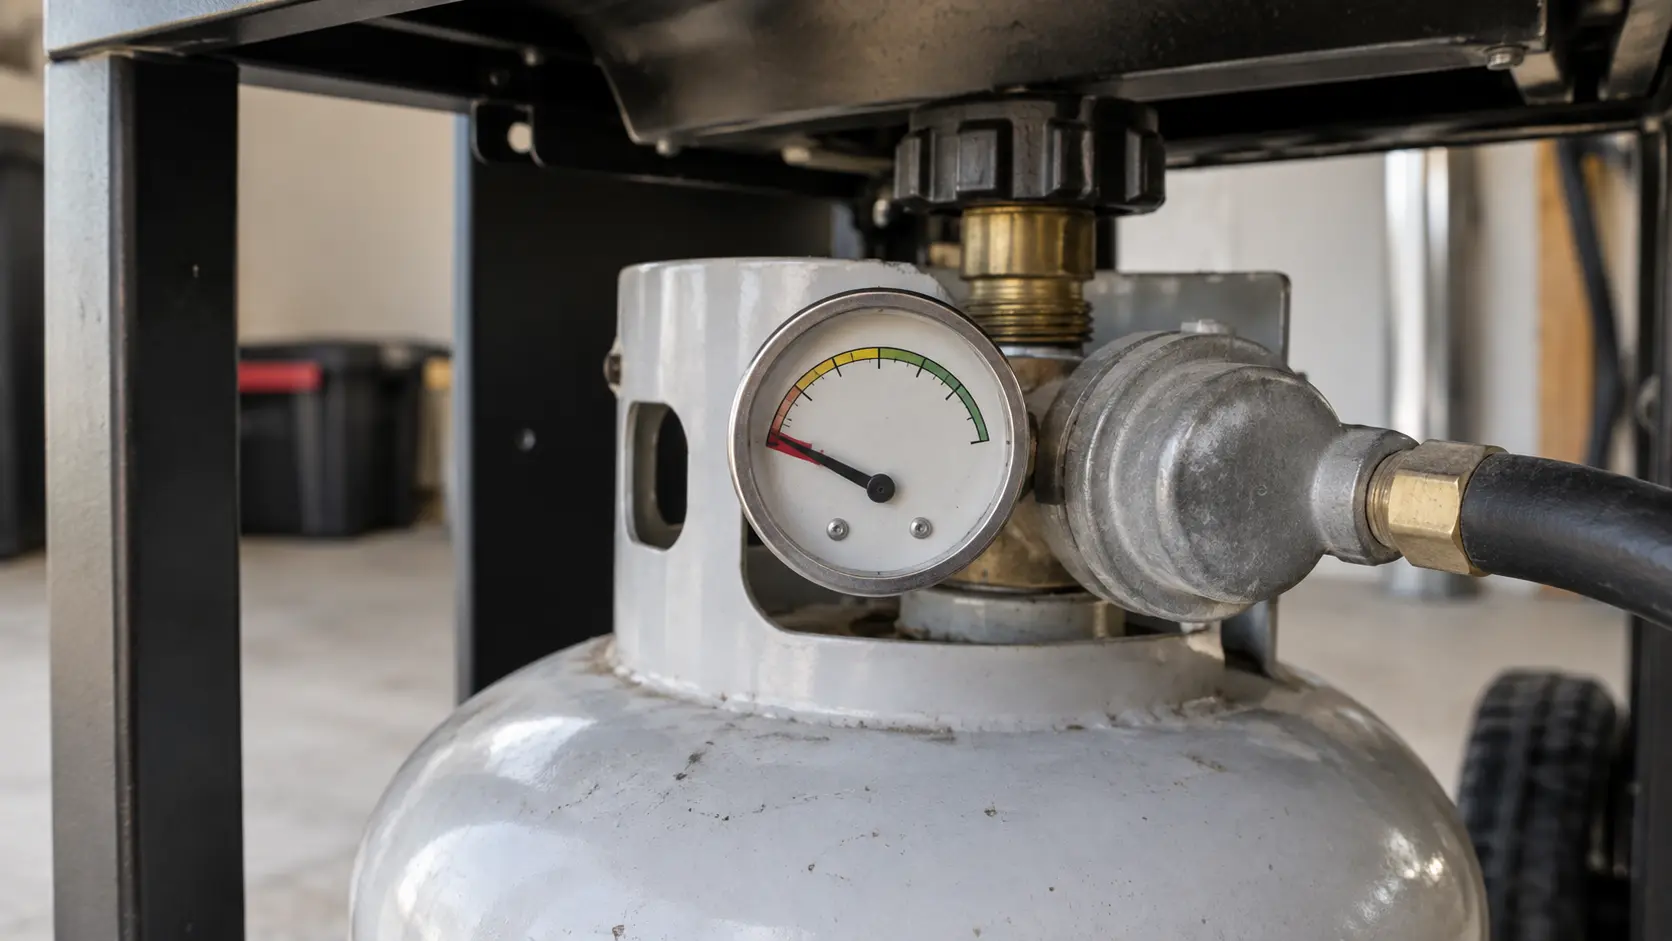
Begin at the source. On a portable cylinder, lift it or weigh it; a nearly empty one can light a burner and still leave the grill cold. Confirm the cylinder valve has been turned open and the regulator's coupling is threaded fully on, hand-tight, as it was when the tank went on. On a natural gas grill, find the shutoff near the grill and confirm the handle lies along the pipe.
Follow the hose with a flashlight. Look for cracks, a crushed section under a wheel, a spot touching a hot panel, or a regulator pressing against the cart; Lynx asks that the regulator never touch the grill body because its diaphragm needs to move freely. If every knob was open when the tank was opened, reset the regulator before going further.
The soapy water check on the hose
NFPA's tip sheet suggests brushing a light soap and water solution along the tank hose before the first cook each year; a leak blows bubbles. Do it only if your own manual calls for it, with every flame and cigarette far away. If bubbles appear and there is no flame, close the tank and the grill knobs; if the leak stops, NFPA says to have the grill serviced before using it again, and if it will not stop, to call the fire department.
Source: Lynx — Care & Use / Installation manual — The regulator's diaphragm must not touch the grill body; lights out: disconnect power, wait 5 minutes for the transformer to reset; hot-surface igniters checked with a mirror while holding the knob in
Power, batteries and the spark
Grills with lights, a rotisserie motor, hot-surface igniters or a pellet controller need a live outlet. Plug a lamp into the same outlet, and if the outlet has test and reset buttons, press reset. Lynx's advice when the lights stay dark is to disconnect power, wait five minutes for the transformer to cool and reset, then reconnect.
For a battery igniter, open the cap on the front panel and fit a fresh cell the way the diagram shows. For a piezo button, listen for the snap. For hot-surface igniters, Lynx has owners hold a knob in at off and look for the glow with a small mirror. A pellet grill that shows a code on its display has told you where to look; note the code exactly and read our error code pages.
Three extra looks at a pellet grill
Open the hopper and check that pellets reach the bottom of the chute and are dry and hard, not swollen into sawdust. Listen during startup for the auger motor and the fan. And with the grill unplugged and completely cold, look at the firepot; one heaped with ash or unburned pellets explains a failed start on its own.
Source: Lynx — Care & Use / Installation manual — The regulator's diaphragm must not touch the grill body; lights out: disconnect power, wait 5 minutes for the transformer to reset; hot-surface igniters checked with a mirror while holding the knob in
The grease tray and one burner's flame
Slide out the drip tray and grease cup when cold. A tray brimming with fat is both a fire risk and a common reason for smoke and flare-ups; NFPA's tip sheet asks owners to remove grease buildup from the grill and the trays below it. While the tray is out, shine the flashlight upward at the burners for rust flakes or a burner that has dropped out of its bracket.
Last, lift the grates, light a single burner by the manual's procedure and look at the flame for a minute. Short and blue is good news. Tall and yellow, lifting off the ports, or dark in patches along the burner each has its own guide on this site.
What to send with the booking
Two photos and three lines are plenty: the rating label, the burners with the grates lifted, and a note of what you checked and what you saw. A technician who knows the tank is full, the outlet is live and the tray is clean can go straight to the burner, valve, igniter or controller that is left.
Four signs that end the checks at once
Gas you can smell near the grill or the cylinder, grease still burning after the burners are off, flame or scorch marks around the knobs, or a knob that keeps gas flowing at off. For any of them, shut the supply at the cylinder or the line valve if you can reach it safely, keep the hood up for an odor and clear of the fire, and move back. If the odor lingers or the fire grows, phone 911 or the gas utility from well away.
- Gas odor: controls off, supply shut, hood up, nothing lit, everyone away.
- Burning grease: supply shut, controls off, hood lowered only when that is safe, no water on it.
- Fire around the control panel: supply shut at the source, then distance.
- A control that will not turn the gas off: the cylinder or line valve stays shut until the visit.
Source: NFPA — Grilling safety tip sheet — Check the tank hose with a light soap and water solution before the first use each year; if a leak with no flame, turn off the tank and grill; serviced before use if it stops, fire department if it does not; remove grease buildup from the grill and trays